Sweet Secrets of Homemade Maple Syrup
- Mar 6, 2025
- 3 min read
Updated: Jul 3, 2025
It’s called the “sugaring season”, those few weeks in late March, early April every year, when the sap runs from the maple trees and conditions are perfect for making maple syrup. Here at Fairweather Farms, (shown here in a vintage photo) it’s an annual labor of love, and a sweet, natural phenomena that inspired a closer look.

The whole process is triggered by the pressure inside the trees as the weather warms. When a pattern of freezing and thawing temperatures takes hold, it makes the internal pressure inside the trees build up, causing the sap to flow. My sister makes maple syrup as a hobby, and taps 12-15 trees every year (with help), and then, cooks and bottles it, earning her the official title of the “Sugarmaker”.

Once the maple trees are drilled- very carefully- with tiny holes in just the right spots, the 5 gallon buckets fill quickly, especially while the nights are still cold. A single tree can produce over a gallon of sap in a day, which is good, because it takes 40 gallons of sap to make a single gallon of syrup.
And, in order to get the right kind of sap for the best syrup, the nights have to be in the 20s, with days warming up to 40 degrees.
It’s one Sweet, Slow Harvest!
Now, everything’s in place for making/processing about 50 gallons of sap, and the famous “Evaporator” is rolled out of the garage, and a fire is started. A wood-burning “double boiler” of sorts, this particular version holds over 50 gallons of sap, and it’s boiled over a hot fire for a very, very long time, until it reaches a temperature of 219 degrees (the temperature for making candy).

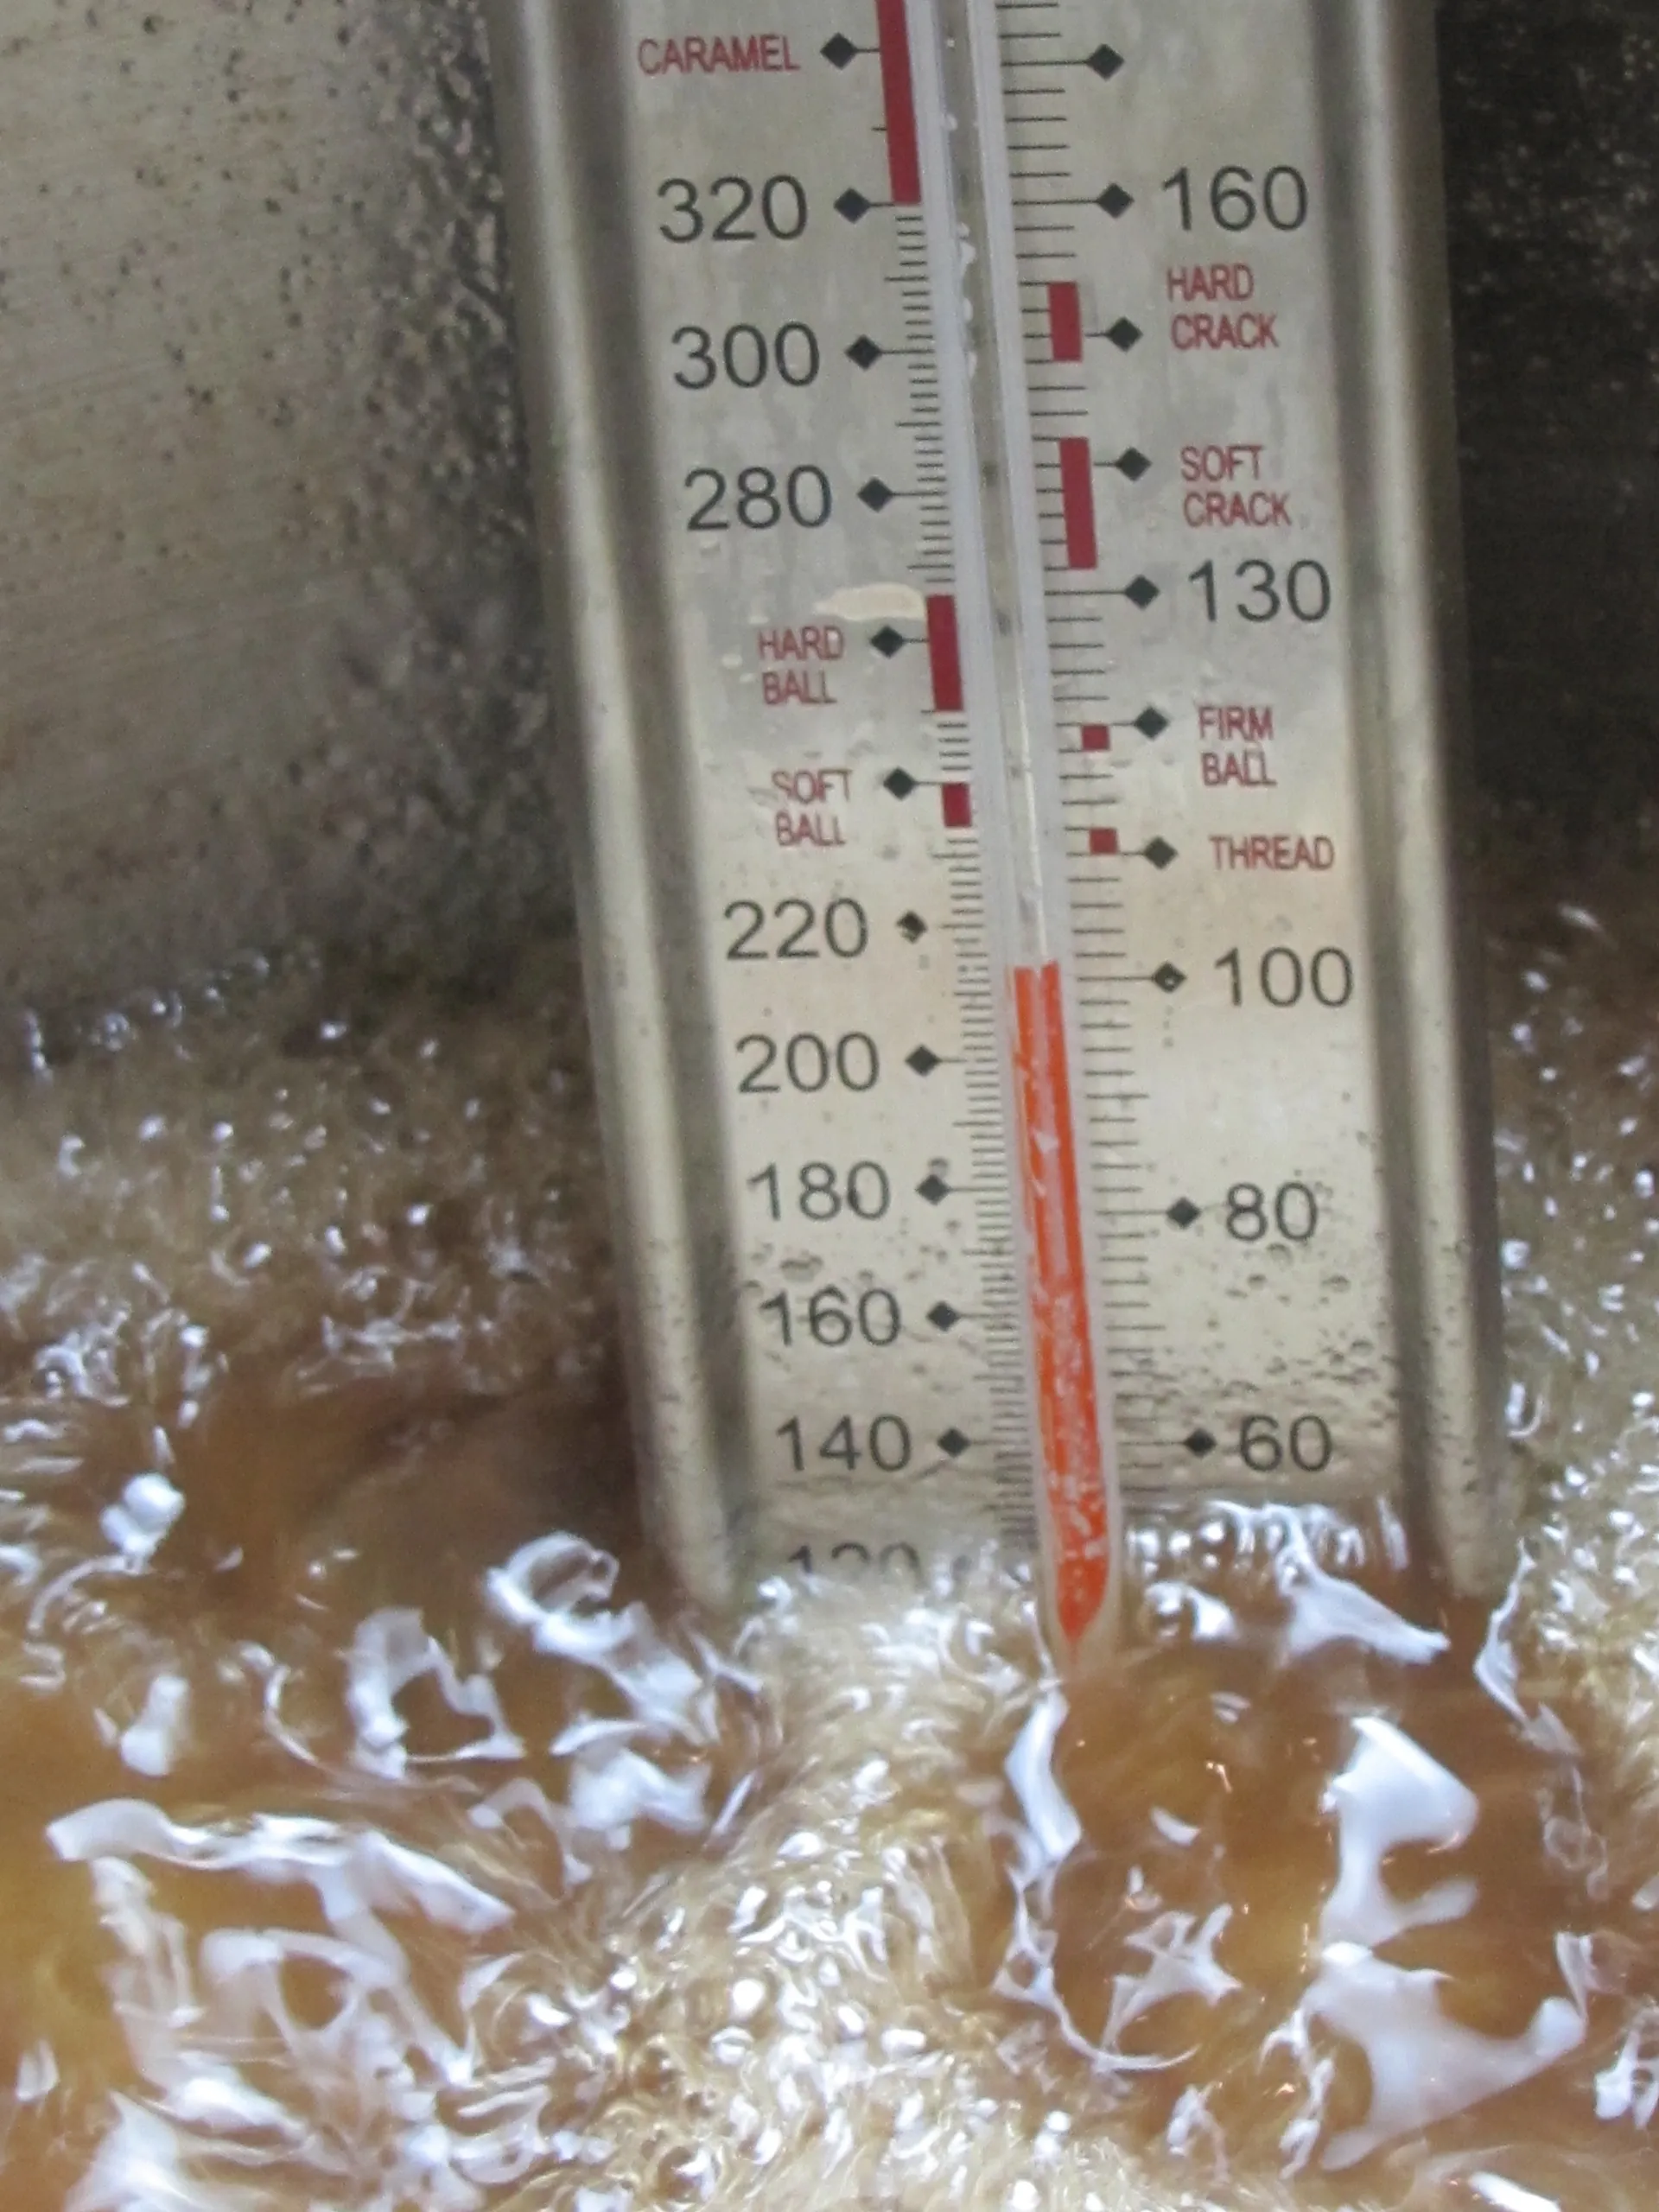
Hot-burning wood is the key. Sounds crazy, but- not all wood burns the same temperature, and if the fire isn’t hot enough, it can add hours to the process, which necessitates stoking the fire late into the evening until the temperature’s finally achieved- an endurance that was softened with maple syrup cocktails.
When the sap finally reaches 219, degrees it’s already started to thicken, turned to a golden brown and ready to be filtered.
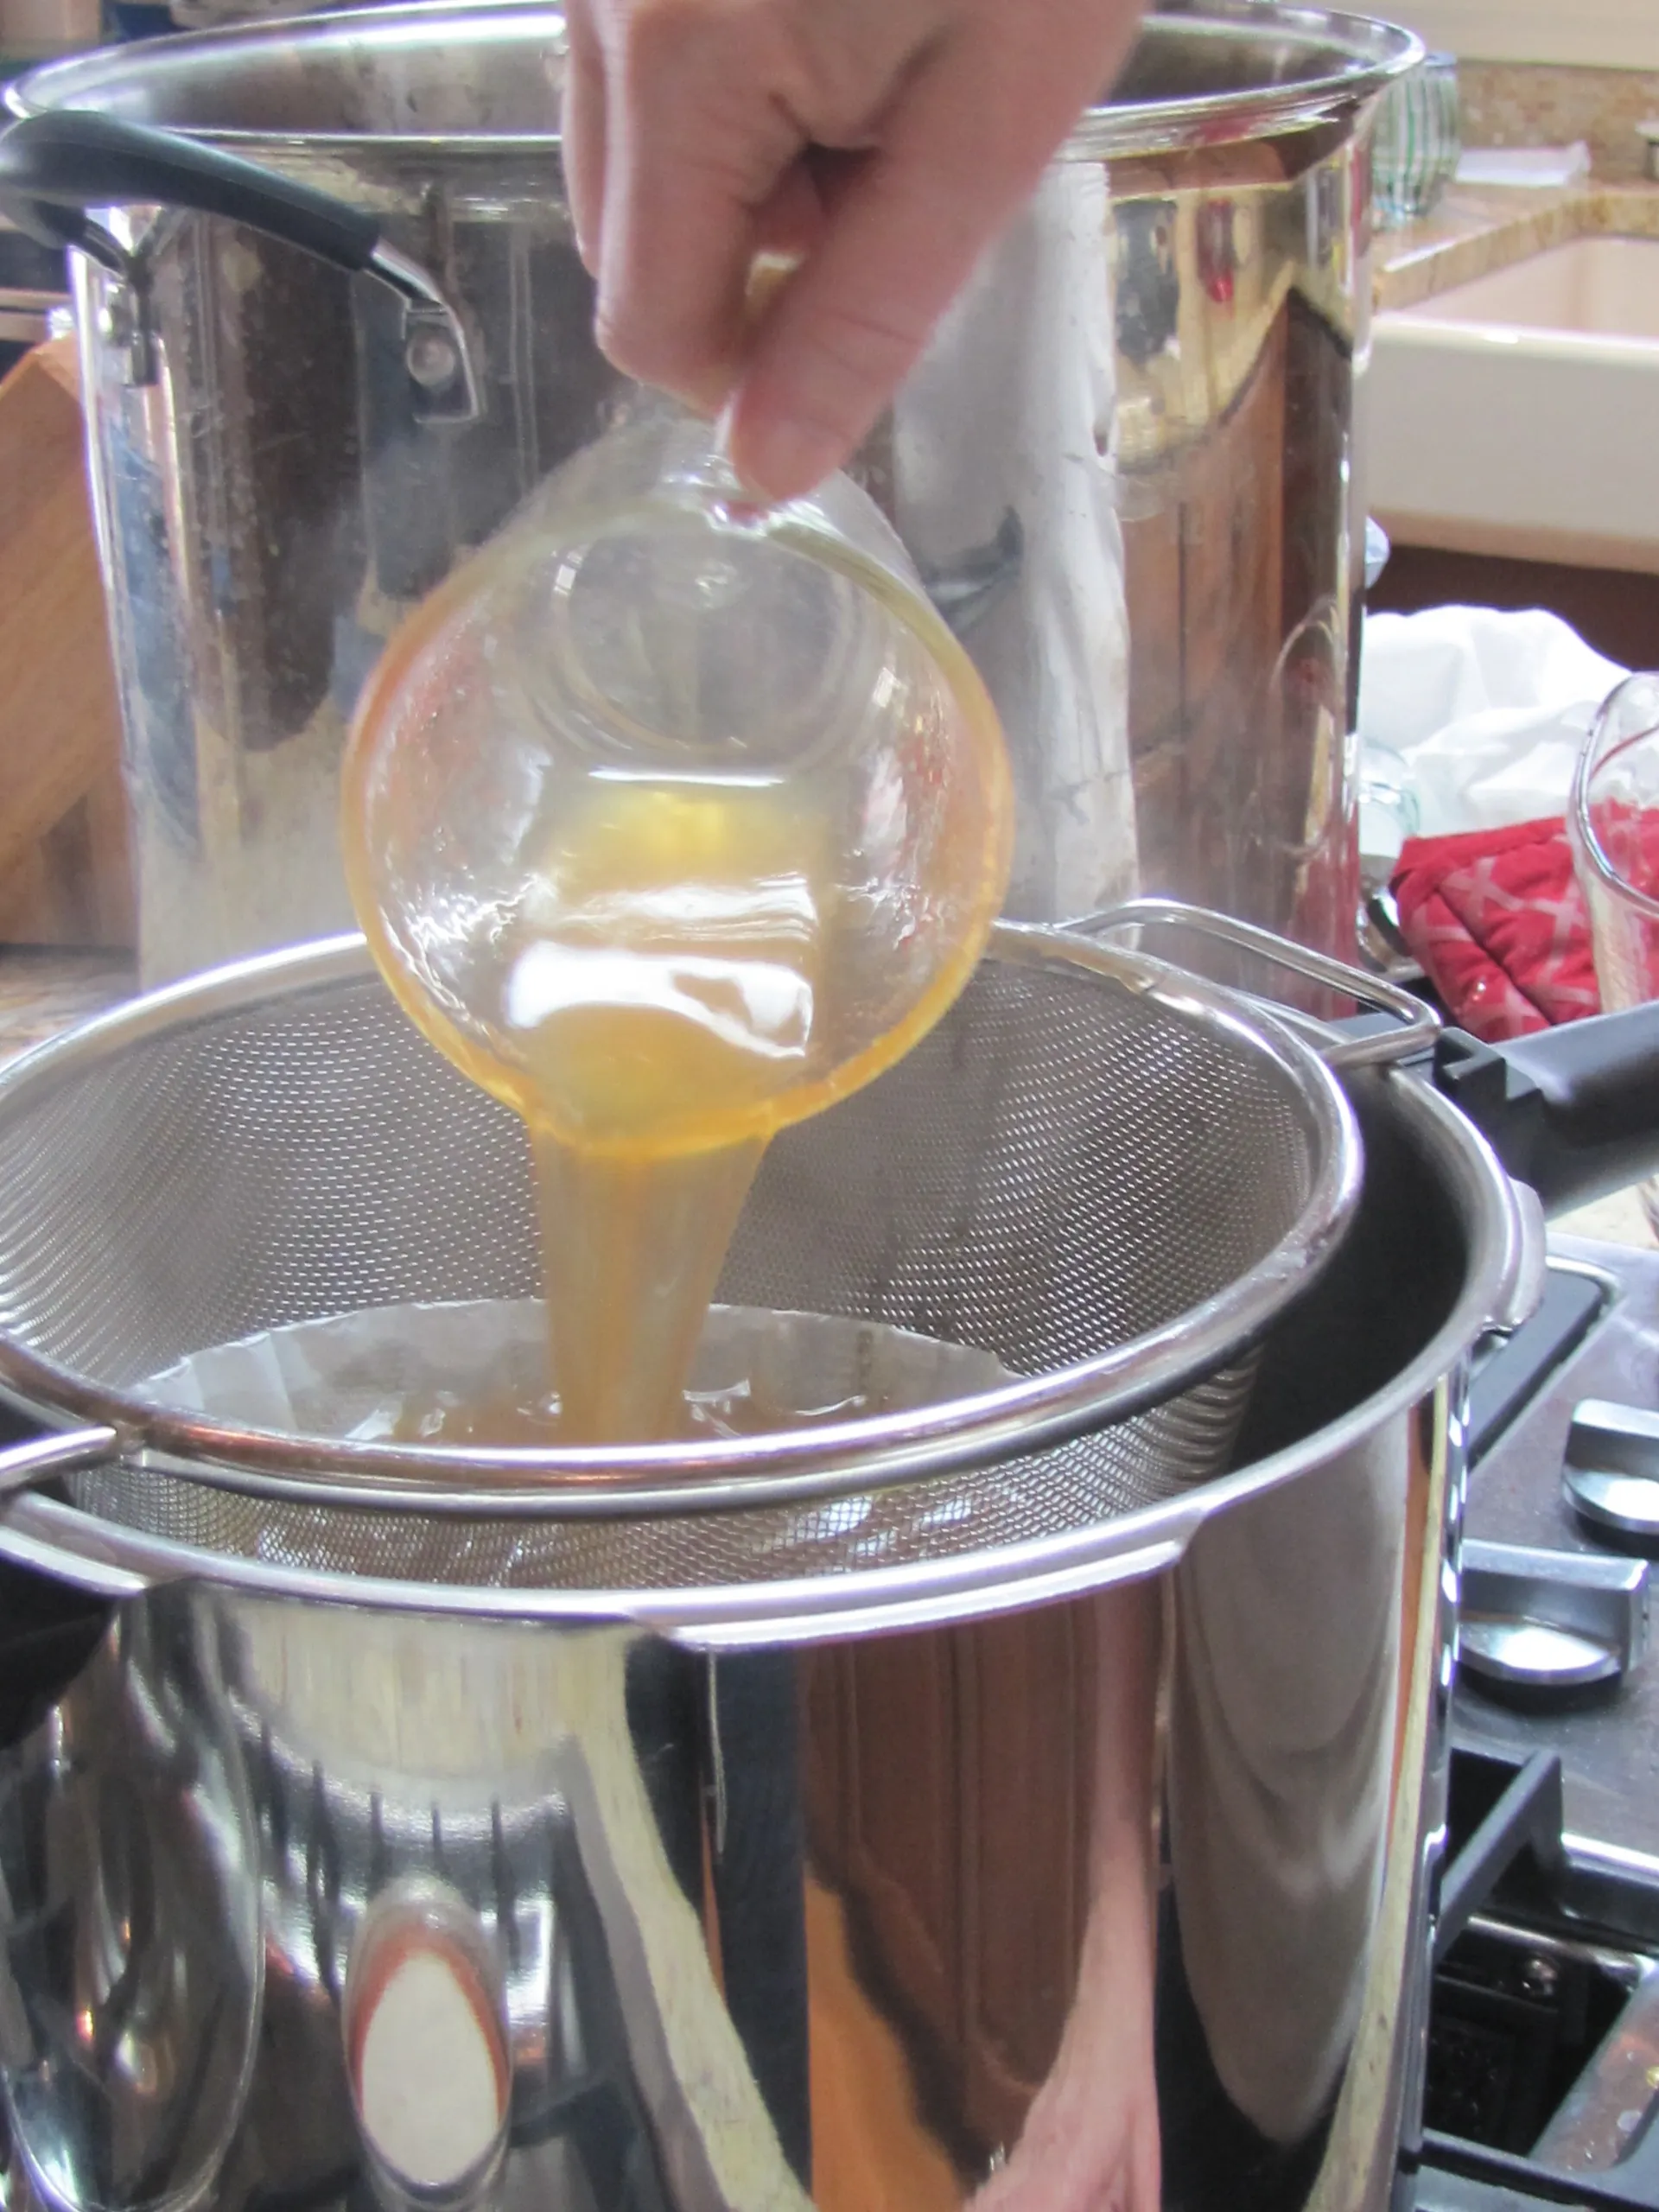
This is when things get sticky!
Filtering is critical in order to remove what’s called “sugar sand” so the final syrup is clear and not cloudy. My sister finds coffee filters do the trick, and it’s poured back into the same pots. Afterward, it’s cooked down even further until it really thickens. Finally, it’s ready to be bottled.
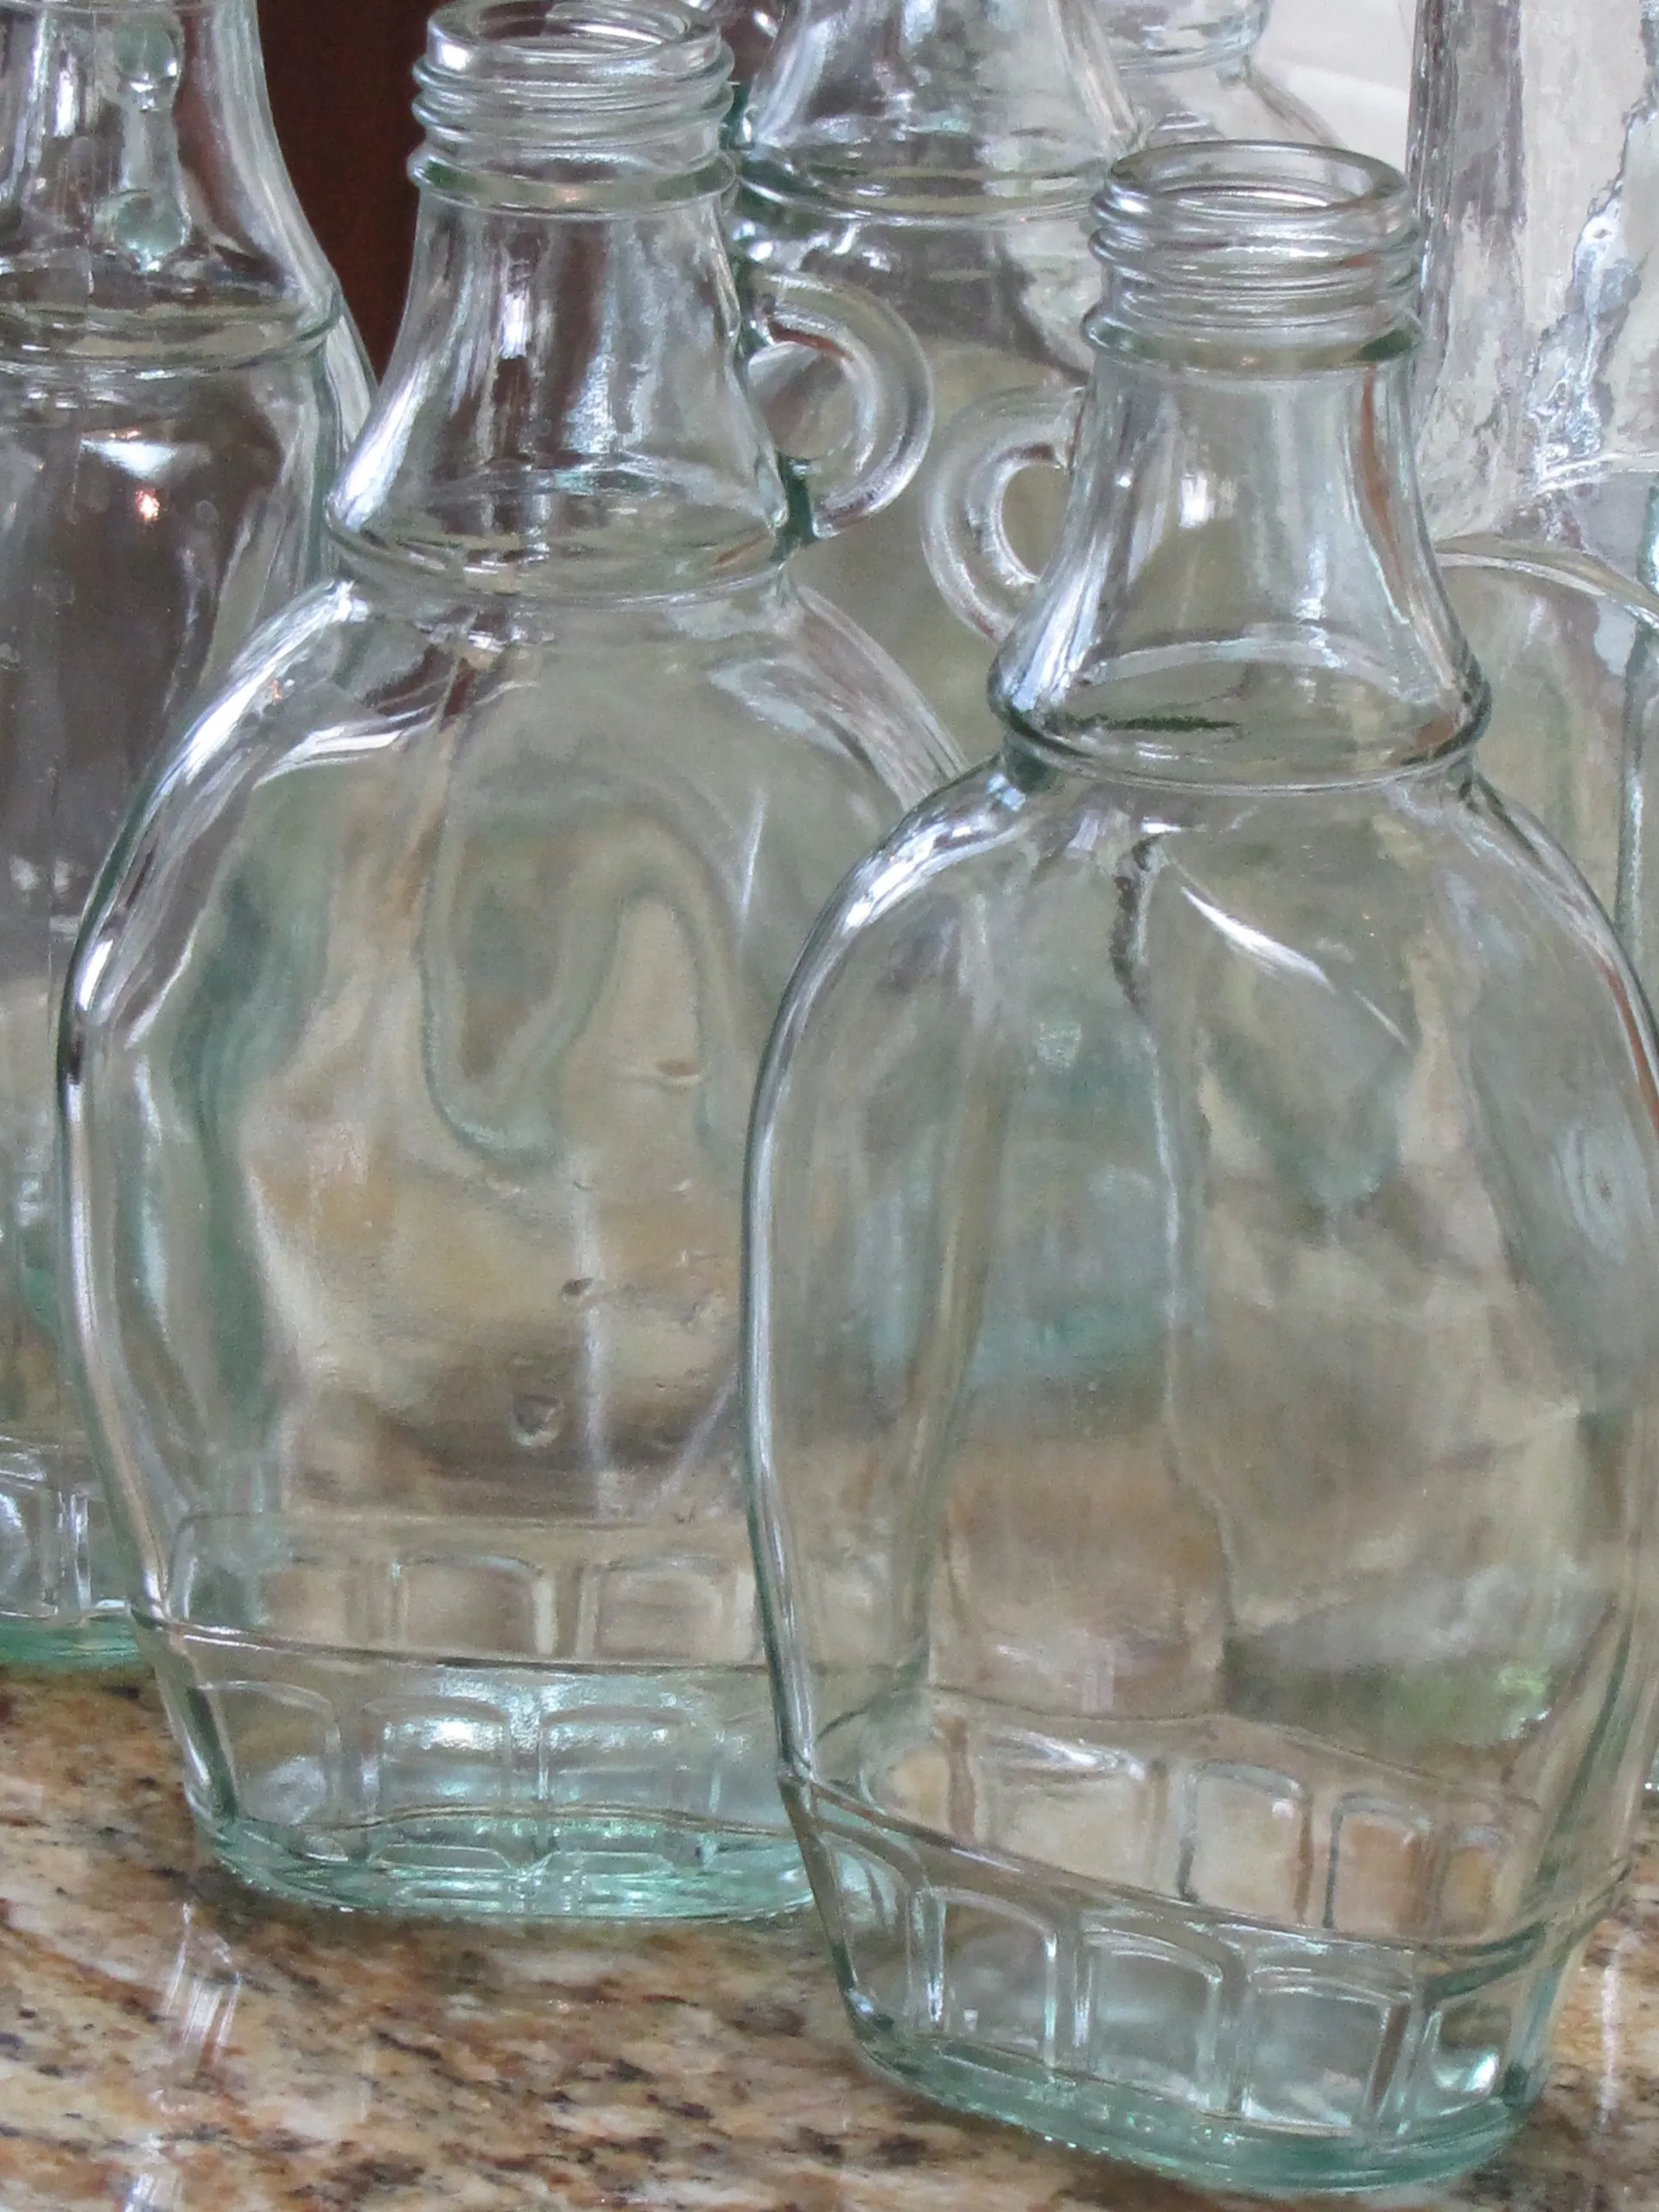
Pre-sterilized bottles are ready and lined up to receive the thick, flowing nectar!
The color of the finished product is closest to a Grade A Medium to Dark Amber according to the new grading system which was recently updated to make US and Canadian systems consistent. The old system used Fancy and Grade A to indicate syrups with lighter flavors and colors. Grade B was darker and more robust.

Under the new system, everything is Grade A, but descriptions have been added. The lightest syrup is now “Grade A: Golden Color with Delicate Taste” and the darkest is “Grade A: Very Dark with Strong Taste.”
Pure Maple syrup is overflowing with health benefits.
Loaded with antioxidants, (over 24) pure maple syrup also has high levels of zinc and manganese.
It’s one of the purest sweeteners out there, compared to white or brown sugar, honey and agave, and much better for you than processed sweeteners. And it has a lower glycemic index than sugar.
Maple syrup helps fight inflamatory diseases such as heart, arthritis, and bowel. It protects skin health, and makes a great hydrating skin mask along with raw milk or yogurt, rolled oats and raw honey.
New studies are finding it may also protect against the kind of neurodegenerative damage found in Alzheimer’s disease, so pour it on!
In the process, we found all kinds of great recipes calling for Maple Syrup, like this easy one for Maple Mustard Balsamic Dressing:
2 T balsamic vinegar
2 T Dijon Vinegar
2T Maple Syrup
8T olive oil And, a super easy recipe for Maple Syrup Switchel!

I saw an opportunity to create a label design, but first, I discussed the approach with the character who really runs the place (my sister’s pet pug.)

After some bark and forth, we settled on this:

I had them printed at the local FedEx Kinkos.

All in all, it was a sweet learning experience! Cheers!